EQUIPMENT

The Petting Zoo – CTF

DC702 CTF FOR CREECH AFB

The Las Vegas local hacking group, DC702, will be hosting a Capture The Flag (CTF) event at Creech Air Force Base to promote cyber education. Presenters include intelegence professionals who will describe worldly hacks and the orginizations from which they originate. This post describes the thoughtful process that went into creating the various challenes that will be used for the challenges.

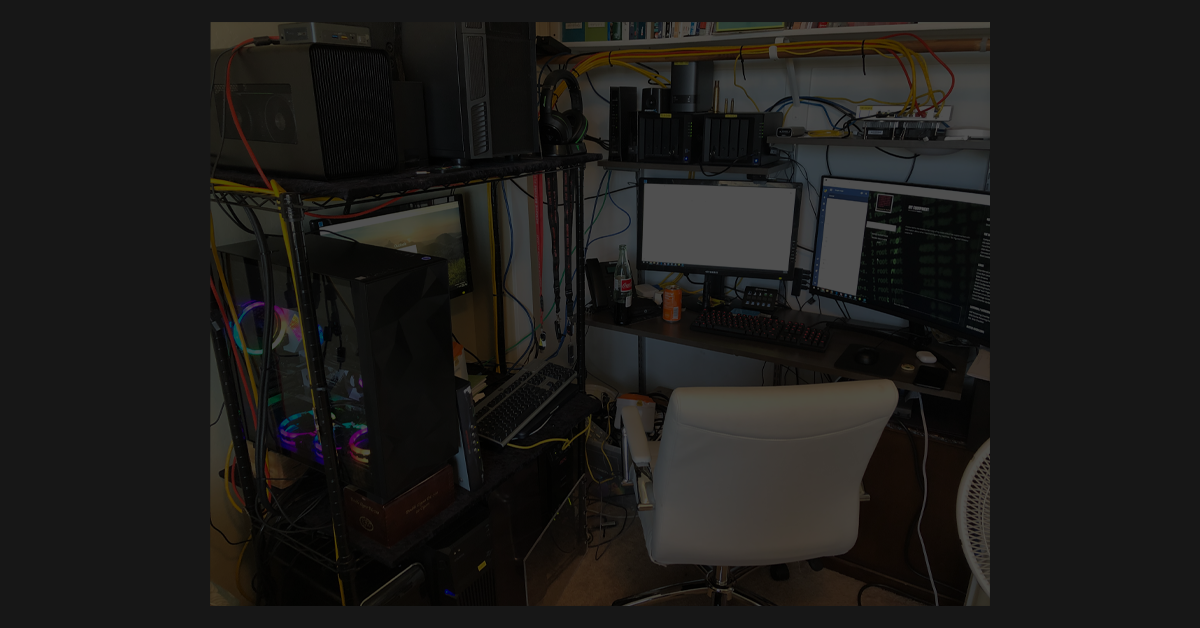
Plesae note that our experts use this daily, and this post is intended to give its audience a basic understanding of Docker and how systems can be developed using it.

Continue Reading

GPU Passthrough on XCP-ng

USES UBUNTU 18.06.6 SERVER

This is a running log of an attempt to create a hashcat server on an XCP-ng server using PCI passthrough to an Ubuntu virtual machine.

NOTE: This is the GPU I’m using: https://www.nvidia.com/content/grid/pdf/grid_k1_bd-06633-001_v02.pdf


INSTALL ON XCP-NG AS A NEW SERVER

NOTE: Reference Download: https://releases.ubuntu.com/18.04.6/

After downloading the ISO, I simply created a VM with 12 cores and 48 GB RAM

Then, I installed hashcat

sudo apt install hashcat

Continue Reading

Hashcat on Windows

I think I may have mentioned in another post that my eyes were opened pretty wide when I found out that hashcat could be run on Windows. I took it to a new level this week.

For the past couple years of DEFCON, I’ve been collecting all of the password files that I could find. In all, I have around 12 TB of them in several forms. Some are for GSM, and others are simple text files used by hashcat. My original configuration of my hacking network had a ParotOS computer with the hard drives containing the data in them. I would use this separate computer to play around with hashcat, while using another one on Kali Linux to play with hacking and forensics. I never had a Windows computer until I built the rig that I use today which has several virtual machines running through VMWare Workstation.

Continue Reading

My Equipment Evolution

It occurred to me recently that many of my posts should be supplemented with information about what I have running on my machines.  So I figured I’d take a second to explain the chaos of organization that I have behind my equipment.

hacker in flight guide

What you see in the picture above is about the hundredth time (i actually have no clue how many) that I’ve changed things around.  I’d like to think that each time I create another cable, or setup another subnet, that I’m hardening my rig and making things more awesome… and yep, I do make things more awesome!

Before I explain everything that’s in the picture, let’s start from the beginning.  My original environment (for this house) was nine stand-alone computers, all having their own role.  I always have a web server up and running, and possibly an email server depending on my applications.  I would also have a file server on standby (maybe with nextcloud) and then have some shell boxes at the ready using GateOne just in case port 22 was blocked at work.  

With every lesson learned, and each time I discovered an interesting server install, I found myself over writing the OS, and starting from scratch.  In many cases, I didn’t want to flash a hard drive because I liked the old configuration… so I would grab a new hard drive, and do the install there.  Before long, I found that I was not re-using the old hard drives, and they were stacking up!

hacker in flight guide

So it was time for a new strategy.  Knowing this, I looked over each of the bare-metal rigs to see what was underneath.  In most cases, I had an i5 intel processor with 16Gb of RAM.  In two of them, however, I had taken some old parts from an HP server (i have no idea which one) and rigged it to work within a tall, full sized tower… I should do a write-up on that one because it was intense!  It had 48Gb of EEC RAM, plus a couple Xenon 6-core processors, and a 1K watt power supply.  These two would be quite useful in the plan that I was concocting.  VMs!


hacker in flight guide

I’ve setup and used VMWare’s system called ESXi many times before; however I didn’t want to bother with the licensing… even the free one.  Also, they use Windows to manage their proprietary systems, and that can be annoying as well… so I went searching for something else.  And then it happened, I found what I would stick to for quite a while, and still use to this day.  It’s called XCP-NG (https://xcp-ng.org/).  It’s extremely similar to ESXi, however it’s completely open source and offers many of the features that I was looking for.

Armed with two of these HP servers, and the new VM OS which talks directly to the server hardware, it was time to rock.

Over the next few weeks, I began changing many of my bare-metal boxes into VMs housed on these two servers.  I probably went about two years in this configuration.  No longer did I have to worry about a stack of hard drives… now I was taking snapshots and creating ‘high availability’ redundant servers.  It was glorious!

Around this same time, I added a Network Area Storage server called FreeNAS to the mix.  I did this on a bare-metal box and added several hard drives with a mirroring RAID configuration.  I was able to connect each of our family computers to it (keep photos/videos) and also use it as a repository of ISO (OS install) files, and hard drive space dedicated for the VM installs.  Unfortunately, FreeNAS was somewhat short lived.

INSERT DIFFICULT LESSON HERE: 
Redundancy is GREAT!  It can mean that when one hard drive goes out, you have another with the information to take the load… but redundancy is NOT the same as backup.  In backup, there’s the rule of three’s, and I didn’t follow this rule when I set up the FreeNAS system.  The rule of three’s says that you need your data, plus an on-site backup of your data, plus an off site backup of your data.  That ensures that you have access to the information if ever something happened to your primary location.  In the case of this FreeNAS box, I didn’t create the backup sites, and totally relied on the redundancy of the hard drives.  This would have been all well and good, however it wan’t the hard drives that failed… it was the block that held the RAID’s records.  When it went corrupt, that meant that all of the drives in the array went corrupt as well… BAD!  I had to do a forensics recovery to get back the data that was accessible, but overall, we lost some important stuff.  As a result, I made it part of my religion to include backups, and never trust redundancy!  the redundancy piece is nothing more than convenience.  Of note, it turns out that it was a bad stick of RAM that caused all of the trouble.

So back to the evolution of my equipment.  At this point, I was able to create two XCP-NG servers housing around sixteen VMs, and was pretty happy; but there was one problem… the temperature in that office practically doubled, and our energy bill did the same.  I think that because those HP servers were older, and didn’t have the same cooling that their proprietary cases had, they were sucking up energy like a gas-guzzling engine.  I loved them, but would once again have to adapt to this new finding.

In looking for an overhauled setup, I decided to try out something which was becoming pretty popular.  Synology had just come out with a new four-bay NAS that had some amazing capabilities.  Surveillance, for one, was included in their OS.  In addition, it was easy to incorporate any of the network transfer protocols.  This was important because I run about 4 types of Linux OSs, Mac OS, and Windows… as well as all of our smart phones and iPads.  So a one-stop-shop was sounding pretty awesome… and it was!

With the Synolgy in the picture, and consolidating down to only one of those big servers, I decided it was time to segregate my networks, and prepare for the courses of which you are familiar: hacking.

To segregate my network, I created a pfSense firewall in bare-metal, and connected it to a Unifi managed switch with P0E+.  This allowed me to make as many virtual LANs as I wanted, and port them seperately through any of the 8 ports on the front of the switch.  I wrote all of the firewall rules to segregate, and managed the devices through a Ubiquity Cloud Key.  It turned out to be a lot of fun learning an entirely new system like Ubiquity.  

The segmented networks were great!  I had fiber internet coming into my house at a 1Gb up and down speed with a static IP… but then I figured out that I could configure any of the four ports on the modem to either be static OR dynamic.  So in the end, I created my business network on the static IP, and left my home network on the dynamic address.  It was awesome!  Segmentation through the ISP, who knew?!?

With my network exactly in the configuration I wanted it to be, and my equipment stable with redundancy and backup, it was time to build myself the ultimate rig for hacking… something that I could learn on, mess up, and rebuild if needed.  For the journey that I was about to partake, I made a decision that I never thought was possible for me.  I did something that was completely against my religion, and made me die just a little bit inside… I used Windows as my base OS.

After having used this rig for a while now, I standby my decision to use Windows as the Base OS, but it still hurts just a little every day.  The reason I decided to do this was because so many common things reside on Windows including the Adobe suite that I use often, and it’s extremely easy to create a new virtual machines using VMware Workstation.  In fact, segmenting networks within the VMware suite is equally awesome, and allows me to hack with ease knowing that it would be fine if someone got into my instance of Kali.  I simply installed a dedicated network card into the rig, and only allowed one of the vlans through the port in the manged switch.  It’s flexible, too, in the fact that through vmtools, I can copy/paste things direct from Windows to Kali or ParotOS.  So overall, I am extremely happy with my decision, and it’s been quite convenience as well.

The last piece of equipment that I’ll mention before I actually say what i have in this rig is the eGPU.  I had one setback with the VMware Workstation on Windows setup… I couldn’t have one of the VMs talk directly to the hardware within the rig.  This is called hardware passthrough.  It’s possible on the ESXi setup, but not within Windows on a VMware Workstation instance.  I thought that if I hooked up the Thunderbolt 3 (USB-C connection) to an external GPU (eGPU), I may be able to connect that USB instance to the VMware Workstation running within Windows.  But low and behold, I was completely wrong.  The connection isn’t one of USB 2, or USB 3… it actually shows up on the computer as a PCI bus, and therefore, is an extension of the motherboard.  It was fun to give it a shot and try to connect it to the VM… but in the end, it was better to connect the video card to bare-metal to perform my password cracking.  So I purchased a little Intel NUC which had a thunderbolt 3 port, and decided that when I needed to crack passwords, I could conveniently move the eGPU over.

It turns out that hashcat, which I use for the password cracking, is available in a Windows version.  I had no clue of this since I hated Windows so much… but out of necessity with my new rig, figured it out.

So now onto the description of the rig that I will be using for this journey into becoming a professional hacker!

My Equipment:
i9-9900K 8-core Intel 3.6GHz
(5.0 GHz Turbo)
64 GB OLOy DDR4 3600
ASUS Prime Z390-A Motherboard
ASUS ThunderboltEX3 Extension Card
Rosewill ATX Mid Tower
x2 Sebrent 256 M.2 SSDs
x2 Samsung 1TB SSDs
x1 Western Digital 4TB 7200
eGPU Razer Core X Chroma
NVIDIA GeForce RTX 2080 ti FE

Thank you for reading… I look forward to our great experiences together!

Scroll to top